
/*--------------------------------------------------------------------------------------------------------------------*/
웹서버는 설치가 완료되었다. 앞으로 php프로그래밍 mysql 아파치등 설정을 바꿔야 할일이 생길거다.
왜냐하면 지금까지는 기본으로 필요한 것만 했기 때문에 세부설정을 하지 않았다.
앞으로 조금씩 해야 할것들은 httpd.conf와 php.ini 를 설정해야 할것이다.
이제 소켓통신을 위한 패키지를 설치하도록 하자..
node.js / socket.io / express를 설치한다. 요걸 설치하려면 우선 epel을 사용하여야 한다.
말이 길다... 우선 시작~~
EPEL(Extra Packages for Enterprise Linux )<- 기본패키지에서 확장패키지를 제공하는 Repository(저장소)이다.
요점정리 맨밑에
[root@localhost html]# yum -y install epel-release <-(epel을 사용하기 위해설치)
--생략--
Dependencies Resolved
=======================================================================================================
Package Arch Version Repository Size
=======================================================================================================
Installing:
epel-release noarch 7-5 extras 14 k
Transaction Summary
=======================================================================================================
Install 1 Package
--생략--
Running transaction
Installing : epel-release-7-5.noarch 1/1
Verifying : epel-release-7-5.noarch 1/1
Installed: epel-release.noarch 0:7-5
Complete!
[root@localhost html]#
/*--------------------------------------------------------------------------------------------------------------------*/
다음은 node.js 설치해보자. 쉽다.
/*--------------------------------------------------------------------------------------------------------------------*/
[root@localhost html]# yum -y install nodejs <-(nodejs설치)
Loaded plugins: fastestmirror
epel/x86_64/metalink | 4.2 kB 00:00:00
--생략--
Dependencies Resolved
=======================================================================================================
Package Arch Version Repository Size
=======================================================================================================
Installing:
nodejs x86_64 0.10.36-3.el7 epel 391 k
Transaction Summary
=======================================================================================================
--생략--
Running transaction
Installing : nodejs-0.10.36-3.el7.x86_64 1/1
Verifying : nodejs-0.10.36-3.el7.x86_64 1/1
Installed:
nodejs.x86_64 0:0.10.36-3.el7
Complete!
[root@localhost html]#
/*--------------------------------------------------------------------------------------------------------------------*/
다음은 npm을 설치해야 한다. npm이란..
npm(Node Packaged Modules) node.js 패키지 모듈이다.. 설치시작
/*--------------------------------------------------------------------------------------------------------------------*/
[root@localhost html]#yum -y install npm
--생략--
Installed:
npm.noarch 0:1.3.6-5.el7
Dependency Installed:
node-gyp.noarch 0:0.10.6-2.el7 nodejs-abbrev.noarch 0:1.0.4-6.el7
--생략--
nodejs-uid-number.noarch 0:0.0.3-7.el7 nodejs-which.noarch 0:1.0.5-8.el7
Complete!
[root@localhost html]#
/*--------------------------------------------------------------------------------------------------------------------*/
자 npm 설치했으니.. 모듈 패키지 받아보자.. 그중에 socket.io 와 express 두개의 모듈을 설치한다.
그럼 시작.. 설치 할때는.. /var/www/html/ 안에서 설치한다. 그래야 폴더에 들어오지..
/*--------------------------------------------------------------------------------------------------------------------*/
[root@localhost /]# cd /var/www/html
[root@localhost html]# npm install socket.io
npm http GET https://registry.npmjs.org/socket.io
--생략
npm http 304 https://registry.npmjs.org/commander
> ws@0.4.31 install /var/www/html/node_modules/socket.io/node_modules/socket.io-client/node_modules/engine.io-client/node_modules/ws--생략--
[root@localhost html]#
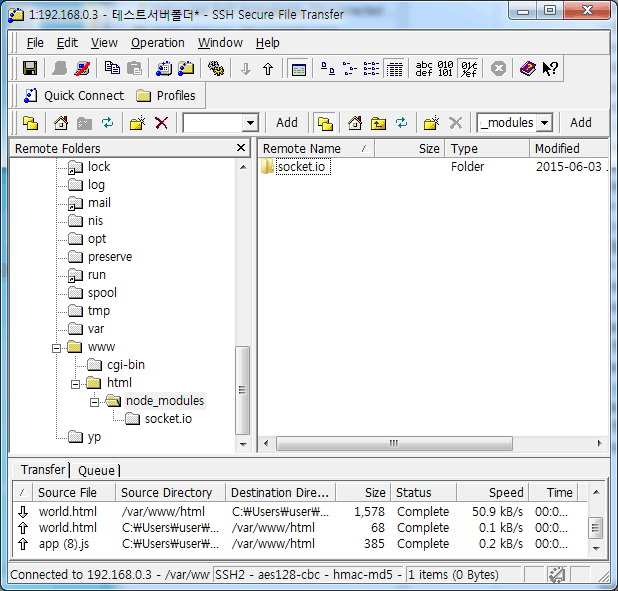
/*--------------------------------------------------------------------------------------------------------------------*/
socket.io가 생겼다.. 다음 express도 마찬가지로 요폴더에서 한다. 시작~~
/*--------------------------------------------------------------------------------------------------------------------*/
[root@localhost html]# npm install express
npm http GET https://registry.npmjs.org/express
--생략--
旬?qs@2.4.2
旬?send@0.12.3 (destroy@1.0.3, ms@0.7.1, mime@1.3.4)
[root@localhost html]#
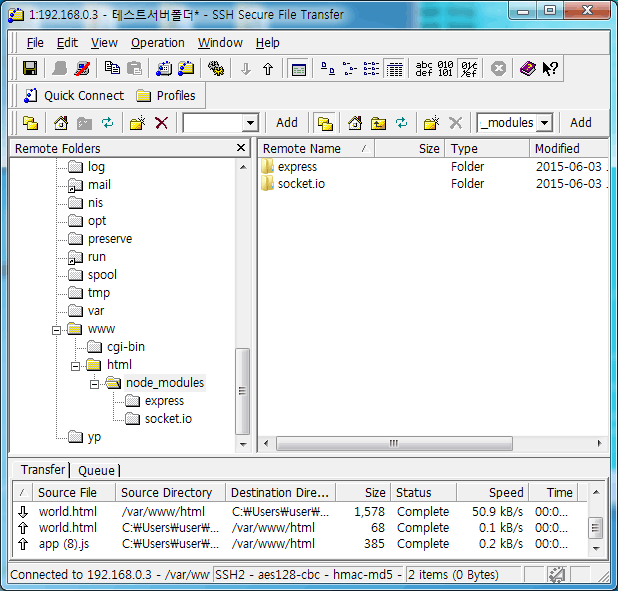
/*--------------------------------------------------------------------------------------------------------------------*/
이제 설치가 끝났다.. 그럼 테스트 해봐야징..
/*--------------------------------------------------------------------------------------------------------------------*/
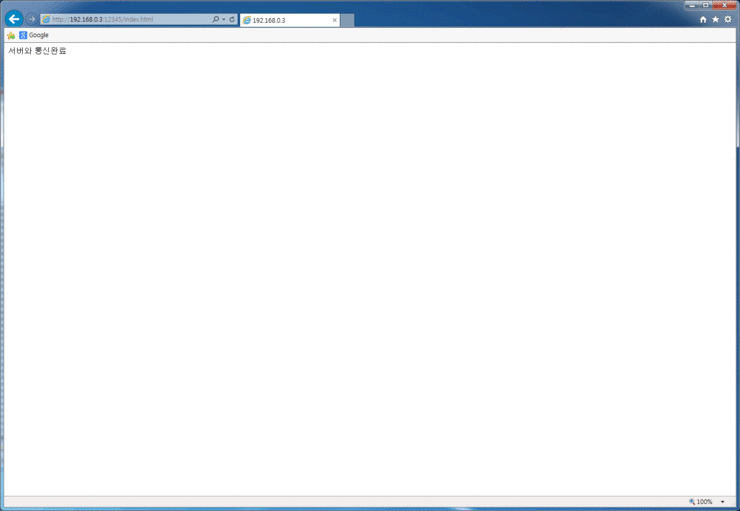
server.js 파일 생성
var express = require('express'), http = require('http'), app = express(), server = http.createServer(app);
app.get('/index.html', function (req, res) {res.send('서버와 통신완료');});
server.listen(12345, function() {console.log('Express server listening on port ' + server.address().port);});
index.html 파일 생성(빈파일이여도 된다)
<html></html>
@ 파일은 utf-8로 저장해야 한글이 나온다.
@ 방화벽에서 포트를 열어놔야 한다. (방화벽설치편에 있다.) 여기서는 12345번 포트 사용
console에서 서버 실행하자. 그리고 접속이다.
[root@localhost html]# node server.js
Express server listening on port 12345
그럼 서버는 포트를 열어놓고 대기중이다.
접속해보자.. http://192.168.0.3:12345/index.html
/*--------------------------------------------------------------------------------------------------------------------*/
된다.. 다행이다. 열심히 구글링한 보람있넹.이제 소켓 통신 관련해서 한걸음 나아갔다고 할까나~~
아직 갈길이 멀었지만 차근차근 해봐야겄다. php만 조금 할 줄 아는 나에게 자바스크립트는 어렵다. 명령어 한줄한줄이 어렵다..ㅠㅠ
요점정리
1. [root@localhost html]# yum -y install epel-release
2. [root@localhost html]# yum -y install nodejs <-(nodejs설치)
3. [root@localhost html]#yum -y install npm
4. [root@localhost /]# cd /var/www/html
5. [root@localhost html]# npm install socket.io
6. [root@localhost html]# npm install express
7. server.js 파일 생성
8. index.html 파일 생성
....끝
/*--------------------------------------------------------------------------------------------------------------------*/
 Centos7 64bit 웹서버 만들기-PHP설치 CAP5